Shopify teaching: Complete steps for newbies to open a store
Are you looking for teaching and preparing to open
a shop? Shopify can be described as the ancestor of the e-commerce store
opening platform, This article will provide introductory Shopify teaching,
allowing novices to understand the entire shop opening process in 20 minutes,
from registration, a listing of goods, payment system, etc. to the official
launch.
What is Shopify?
Shopify is a platform that allows users to set up
e-commerce/online stores. The selling point is that they only need to pay a monthly fee to obtain the entire e-commerce management
technology. Users can list goods, design store websites, manage backends, and
automate online marketing. And
even if you don't want to sell physical products, such as e-books, consulting
services, admission tickets, and event venue rentals, you can use Shopify to
sell them online.
Shopify is a Canadian company listed in the
United States. More than 1 million e-commerce companies around the world have
used Shopify to open stores to sell products. In early 2020, it will provide
Chinese services in Hong Kong and Taiwan. Maybe the e-commerce you visit every
day is through Built by Shopify!
.
What are the steps to open a store with Shopify?
1.
Account Application
2.
Products on the shelves
3.
Choose and personalize the theme
4.
Add the required page
5.
Shipping settings
6.
Set payment method (payment gateway)
7.
Connect to your domain (domain)
8.
Enable test mode to place an order
9.
Launch your Shopify store
.
Shopify store opening complete teaching
Step1: Apply for an account
First, you have to visit
the Shopify page and click "Start a free trial"
to apply for an account. You can have a 14-day free trial. After successfully
applying for an account, the operation page can be changed to Chinese, so
Chinese users don't have to worry.
"Your store name" is the name you changed
for the store. If you are not sure when you apply for an account, don't worry,
you can still change it after entering the account, but if there is already a
merchant using the name, you cannot use it.
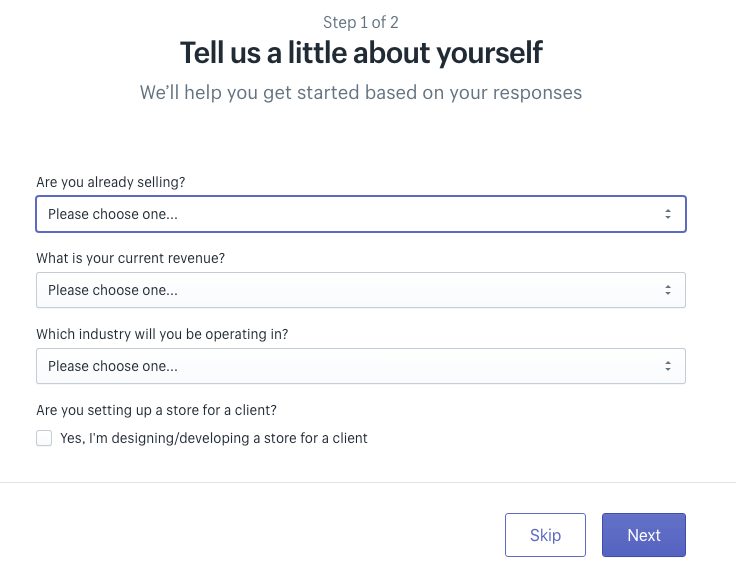
Then you will be asked a little about your store
and personal information:

Then you will go to the homepage of the
post-management store of store. If you are from another country user then,
pull down and click "Change language", and you will be taken to the
general setting page, where you can change it according to your language.

*This language
setting is the language of your management backend, and will not affect the
language your customers see in the store. You can set and change the
language displayed in the store in the background.
.
Step 2: New Products
Many people like to choose the theme template of
the store first and have a sense of design, and then put the products on the
shelves, but I would recommend putting the products on the shelves first, and
then designing the store according to the existing products, it will be more
complete.
Click "Products"
→ "All Products" → "Add Product"
*When you want to upload multiple products at once,
you can click "Import" on the upper left to import products through
CSV files
All information about the product will be edited
here:
§ Title & Description
§ Picture and video (Media)
§ Pricing
If your products are subject to tax, remember to select this option.
§ Inventory
§ The shipping
part is to help you calculate the shipping cost of the product, but I
personally think that it will confuse customers. It is recommended that you only use the uniform shipping
cost, so you can skip this part.
§ Variations (Variants)
When the same product has different options, such as color, size, etc., you
need to use this part.
§ Search engine list preview (Meta Title &
Description) as the name suggests. This is for search engine optimization (SEO) and will be
displayed as a link in the results of search engines (Google, Yahoo).
The following figure is an example, the upper part is the page title Meta
Title, and the lower part is the description.
§ Organization (Organization)
This helps you classify products. For example, you can define a sweater as
"top" + series as "new winter 2020" + label as
"pink". You can define it at will, but it should be in accordance
with common sense. Because the ultimate
goal is to help customers find the products they want more easily.
Although this is not required, when your store has more and more products,
Organization will definitely make it easier for you to manage.
Read Also-
YouTube channel niches without showing face
Paidforartlicles: make money by write article
Step 3 Choose and personalize the theme
Click "Online
Store" → "Theme" → "Shopify Theme Store"
Shopify provides free background themes, but the
number is very small, probably less than 20, and of course, the functions and
flexibility of free themes are worse than paid themes, so if you are serious
about business, it is recommended to buy one that suits you For business, the
price ranges from USD$140-180.
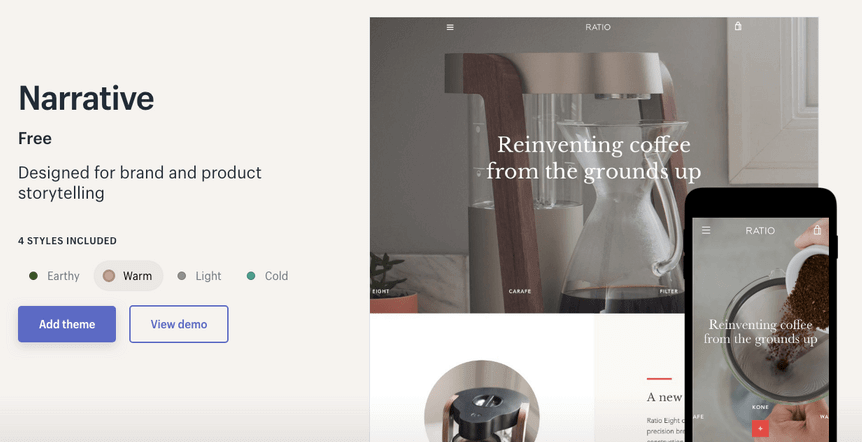
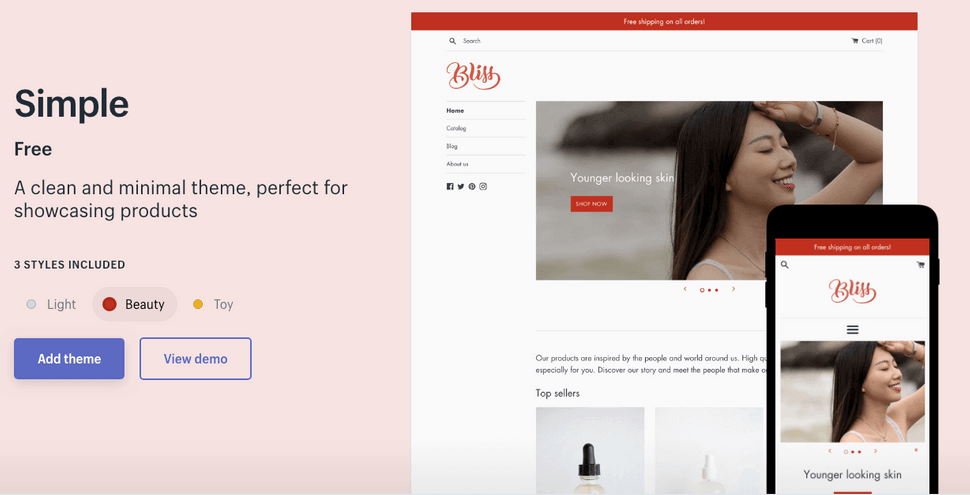
If you want to try it out first, here is the
recommended free version
After you choose, you can click "Online Store" →
"Scene Theme" →
"Customize" to personalize your store. I believe this will be
the most interesting and simple part!
.
Step 4 Add the required page
In addition to the homepage and product page, you
will need some additional pages such as "About Us" and "Contact
Us" to help your customers increase their understanding and trust in your
store.
Click ``Online
Store'' → ``Page'' →
``Add Page''
After you select a public page in "Visibility", you can go to "Online Store" → "Guide" to add the page to the main
catalog. When you go to
"Customize" again, you can design related pages.
Step 5 Shipping settings
After listing the products and designing the store,
you also need to set the shipping, payment, and tax settings before you can go
online in your Shopify store.
Click "Settings"
→ "Shipping and Delivery"
You can use any of the following conditions as the
freight calculation
1) Product size and
weight
You need to provide the size and weight of each product in the product setting,
and the system will calculate the shipping fee based on the product purchased
by the customer.
2) Calculate
according to the amount of the goods/orders. You
will charge the freight according to the amount of money, that is, for example,
free shipping for orders over $300.

As mentioned in
Step 2, I personally think that the size and weight of the product will be
confusing. It is recommended to use only a unified shipping fee, that is, to
calculate the shipping fee based on the order amount.
Step 6 Set the payment method (payment gateway)
Press "Settings"
→ "Payment Service"
you can choose:
§ Shopify Payments
§ Paypal
§ Third-party payment service providers (Alipay,
virtual currency... so many!)
§ Manual payment method (all payment methods that require your approval, eg. bank transfer, fast transfer, PayMe, etc.)
This part is very straightforward and simple. When
setting up Shopify Payment, "customer bill details" are the details
that customers see on the bill, just fill in your store name.
Step 7 Connect to your domain
Before officially launching your store, set the URL
of your store, such as www.yourstore.com instead of yourstore.shopify.com
Click "Online
Store" →
"Domain"
Shopify offers 3 options:
1.
Buy a domain in Shopify (the easiest)
2.
Link your existing domain (management domain
settings, etc. are still managed by the third party)
3.
Transfer domain (management authority of the domain is
transferred to Shopify)
If you are confused
about the second and third choices, buying a domain on Shopify will be the best
choice for you.
Step 8 Enable test mode to place an order
Before release, it is recommended that you enable
1-2 orders in the test mode to ensure that all settings are correct and reduce
the problems that guests may encounter, but note that only the paid version can
place test orders. According to the official website, there are 3 types of
tests. Order method:
1. Use the actual payment provider,
and then immediately cancel and refund the order payment.
This does not require any settings, but it must be canceled as soon as
possible to avoid any handling fees
. 2. Use Shopify's simulated gateway to simulate transactions (Bogus Gateway) .
3. Use Shopify Payments test mode.
If you use Shopify Payments, use Shopify Payment Test Mode, otherwise, other third-party payment service providers must activate Bogus Gateway. Once these two test modes are enabled, all orders will be considered as tests. You will not receive the payment and will not be charged any handling fees, so you must complete it before your store is officially launched, and turn off the test mode.
Step 9 launch your Shopify store
After completing the above 8 steps,
you can click "Online Store" → "Preferences" and deselect "Enable
Password" in the "Password Protection"
section → click Save
Now anyone can go to your Shopify
store to shop, don’t worry that your current store is
not perfect, you can go back to the background to make changes at any time.
Summary
The cost of opening an online store is now greatly
reduced. Although the competition will be fierce, it also means that as long as
you are willing to act and have the determination to continue to test and
verify the method of increasing orders, it is better than doing nothing. Too
many, continue to challenge, and eventually will be successful.
This tutorial mainly hopes that everyone has a basic concept and knows the necessary steps to open a store in Shopify. Since Shopify is designed for e-commerce, the whole feel is easier to manage. If you are interested in joining Shopify, you may wish to apply for a 14-day free account (without filling in credit card information), and follow the above 9 steps to experience Shopify, a flat shop!
Read also-
How to buy cryptocurrency in India
Picoworkers review: legit or scam?
5 easy gigs to sell on fiverr without skills


Post a Comment